How to Edit Videos Using AI (Step-by-Step Guide for Beginners)
Introduction
Video editing used to be one of the most time-consuming parts of content creation. Whether you were a YouTuber, marketer, or business owner, editing required technical skills, expensive software, and hours of manual effort.
Today, artificial intelligence has completely changed that landscape. AI-powered tools now allow anyone to edit videos quickly, even without prior experience. One of the most innovative tools in this space is Descript, which allows users to edit videos simply by editing text.
In this guide, we’ll walk you through how to edit videos using AI step-by-step, even if you’re a complete beginner.
What is AI Video Editing?
AI video editing refers to the use of artificial intelligence to automate and simplify the editing process. Instead of manually cutting clips and adjusting timelines, AI tools can:
- Transcribe speech into text
- Detect filler words
- Automatically cut unwanted sections
- Enhance audio and visuals
This reduces editing time significantly and makes the process accessible to everyone.
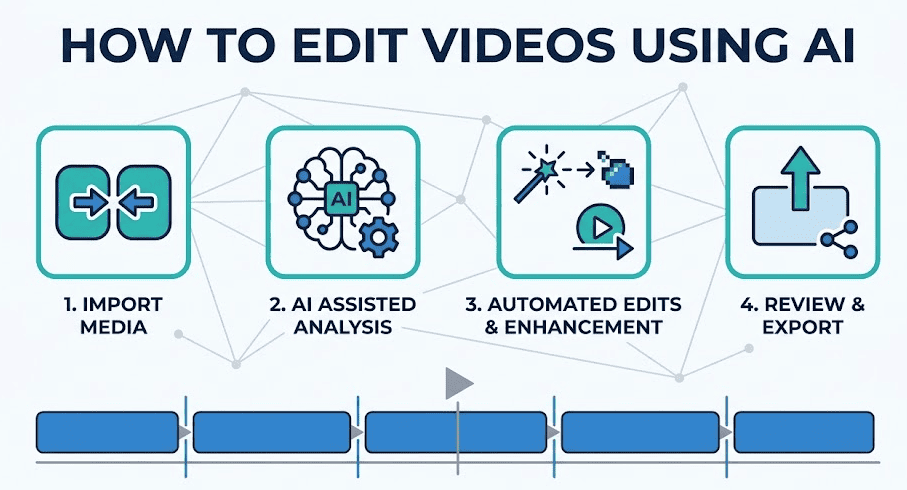
Step-by-Step Guide to Editing Videos Using AI
Step 1: Choose the Right AI Tool
The first step is selecting a tool that suits your needs. Look for features like:
- Automatic transcription
- Text-based editing
- Audio enhancement
- Easy export options
Tools like Descript are popular because they combine all these features in one platform.
Step 2: Upload Your Video or Audio
Once you’ve selected your tool, upload your file. This could be:
- A YouTube video
- A podcast recording
- A webinar or tutorial
Most AI tools support common file formats, making the process simple.
Step 3: Generate Transcription
After uploading, the AI tool will automatically transcribe your content into text. This step is crucial because it allows you to edit the video like a document.
Benefits of transcription:
- Easier editing
- Searchable content
- Improved accessibility
Step 4: Edit Using Text
This is where AI makes the biggest difference.
Instead of using a timeline:
- Delete sentences → removes video segments
- Rearrange text → rearranges clips
- Highlight and cut → trims sections
This approach is faster and more intuitive, especially for beginners.
Step 5: Remove Filler Words and Silence
AI tools can automatically detect and remove:
- “Um” and “uh”
- Long pauses
- Repeated phrases
This improves the overall quality of your content without manual effort.
Step 6: Add Enhancements
Once the basic editing is done, you can enhance your video by adding:
- Subtitles
- Background music
- Transitions
- Visual elements
These features help make your content more engaging and professional.
Step 7: Export Your Video
After finalizing your edits, export the video in your preferred format. You can optimize it for:
- YouTube
- Websites
Benefits of AI Video Editing
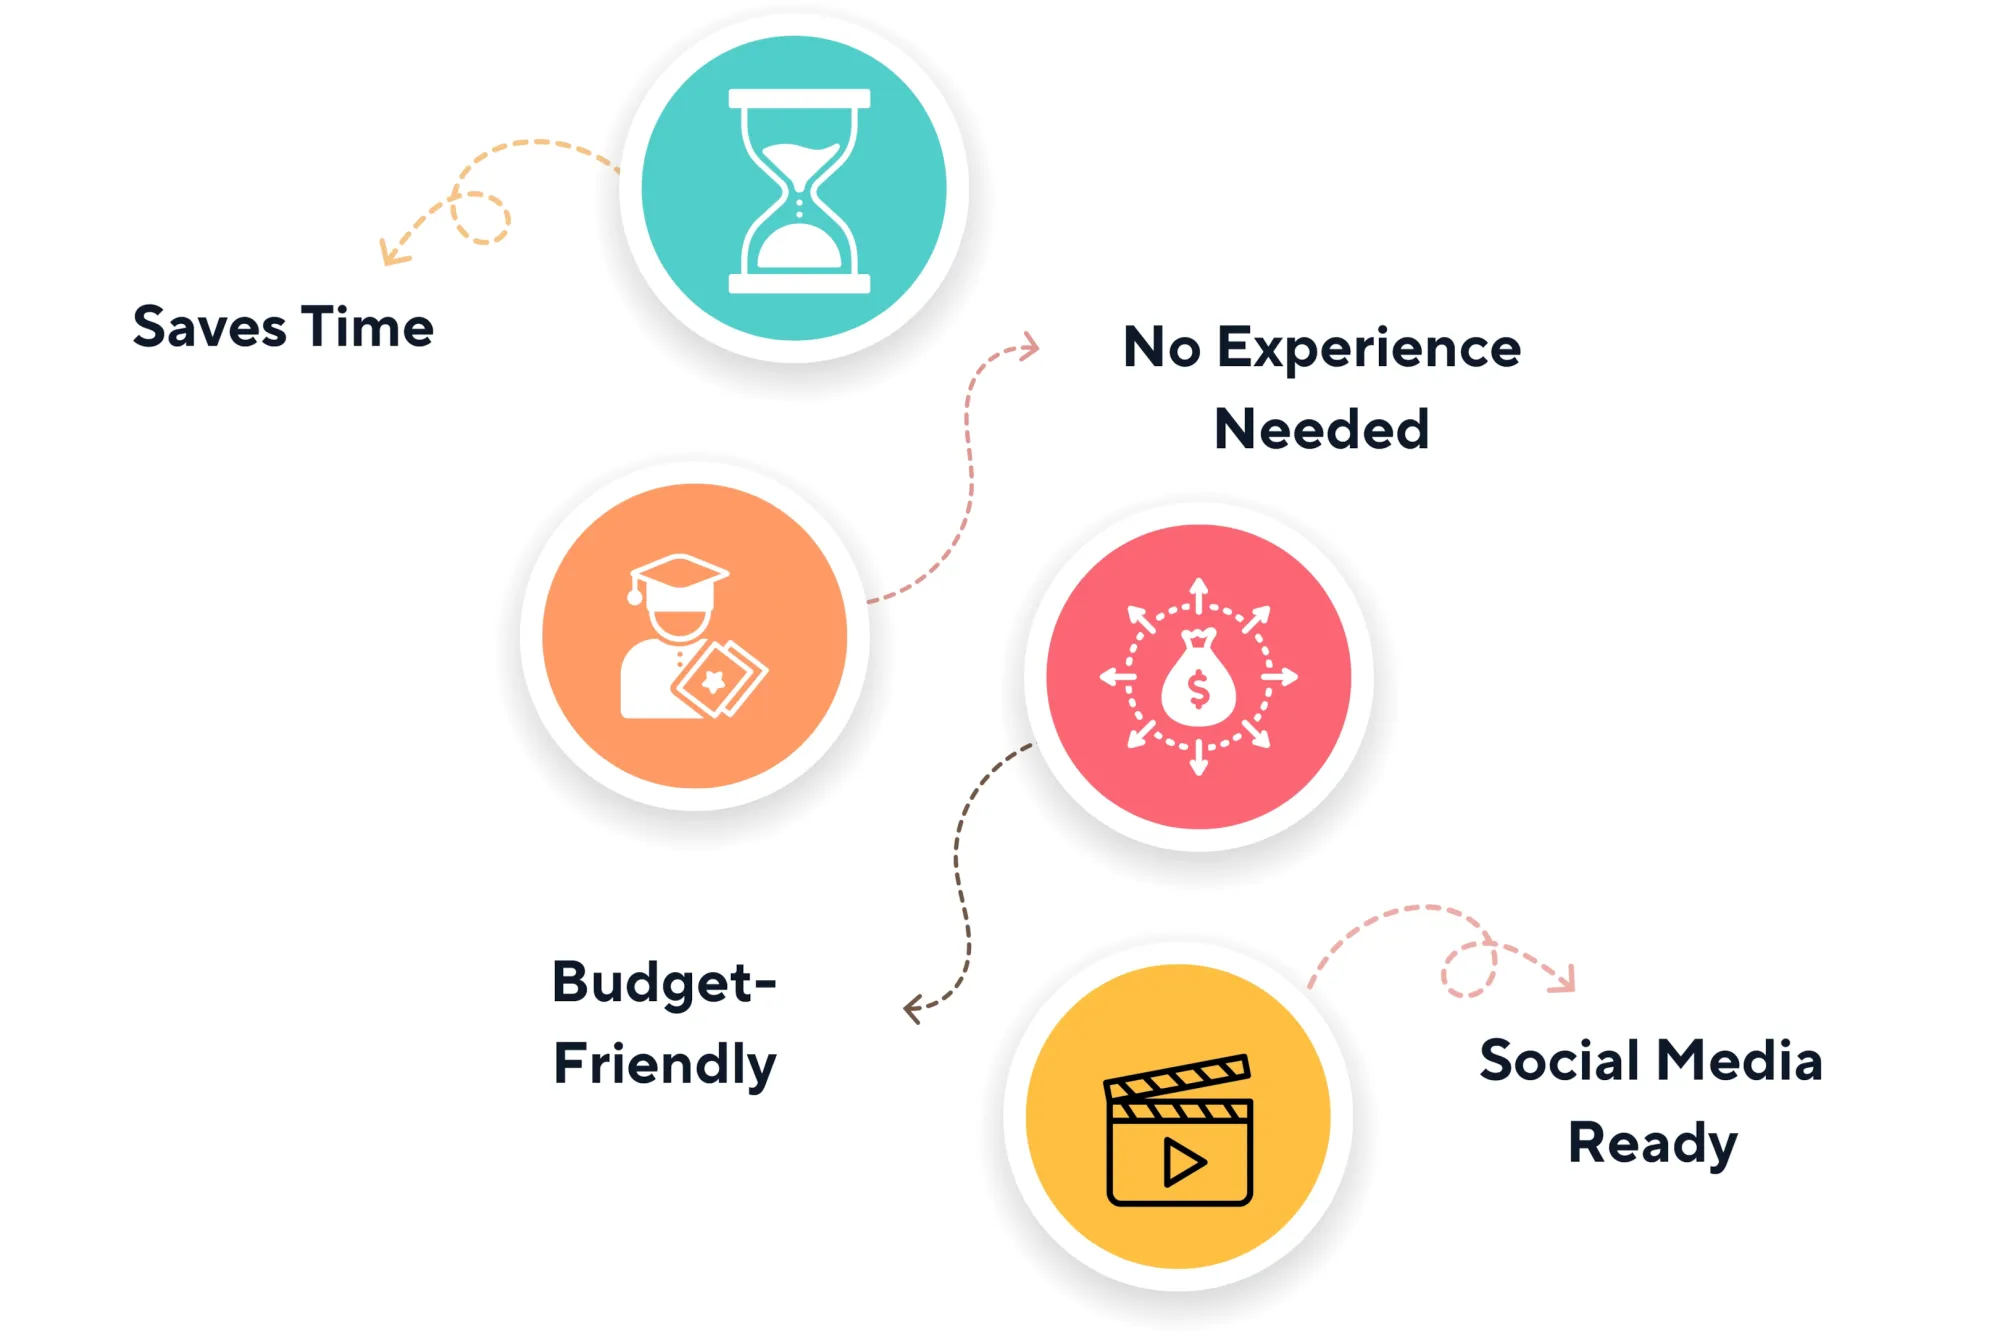
1. Saves Time
What used to take hours can now be done in minutes.
2. Beginner-Friendly
No technical skills required.
3. Cost-Effective
Reduces the need for expensive editors or agencies.
4. Scalable
Create more content in less time.
Common Use Cases
AI video editing is widely used for:
- YouTube content
- Online courses
- Social media videos
- Podcast editing
- Marketing campaigns
Tips for Better Results
To get the most out of AI editing:
- Record clear audio for better transcription
- Keep your content structured
- Use captions for engagement
- Combine AI with manual tweaks for best quality
Final Thoughts
AI video editing is no longer the future—it’s the present. Tools like Descript have made it possible for anyone to create high-quality videos without technical expertise.
If you’re just starting out, AI editing is the fastest way to learn and scale your content creation process.