How to Craft Your Own Scented Candles
Candles serve as more than just sources of light; they have the power to transform a space into a haven of tranquility.
Candles serve as more than just sources of light; they have the power to transform a space into a haven of tranquility. While they make delightful gifts, there's something even more special about creating your own DIY candles infused with natural ingredients and scents. In this comprehensive guide, we'll walk you through the process step by step, ensuring your candles not only light up your room but also stand out in uniqueness.
Materials and Tools: Setting the Foundation for Excellence
Before diving into the creative process, gather the essentials for your DIY candle-making venture:
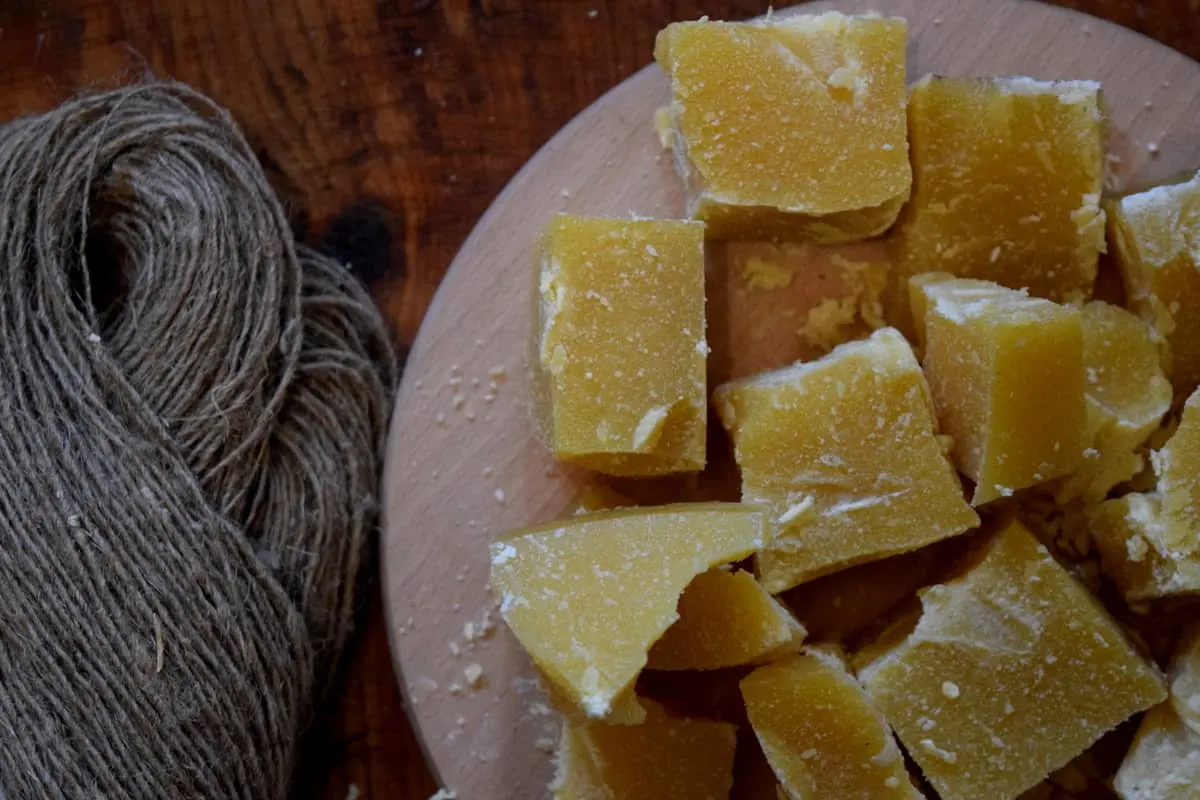
1. Wax:
Opt for natural wax varieties such as soy, beeswax, or coconut wax, easily accessible online or at craft stores. For four small candles, secure around 1 pound of wax.
2. Wicks:
Choose from eco-friendly options like cotton or wood wicks, available online or in craft stores. You'll need one wick per candle.
3. Containers:
Select heat-resistant containers like glass jars, metal tins, or ceramic mugs. Repurpose old containers or invest in new ones—one container for each candle.
4. Scents:
Embrace natural scents such as essential oils, dried herbs, or spices. Customize your blends with 10 to 20 drops of essential oil or 1 to 2 teaspoons of dried herbs or spices per candle.
5. Double Boiler:
Utilize a double boiler or create your own by placing a heat-proof bowl over simmering water. This will be your melting station for the wax.
6. Thermometer:
Ensure precision by using a candy or digital thermometer to monitor wax temperature, crucial for adding scents.
7. Stirring Tool:
Whether it's a wooden spoon, chopstick, or skewer, a stirring tool is essential for achieving a uniform blend.
8. Hot Glue Gun or Tape:

Secure wicks to the container bottom to prevent movement during wax pouring. A hot glue gun or tape will be your ally in this.
Crafting Your Masterpiece: A Step-by-Step Guide
Now that you've assembled your arsenal, let's embark on the journey of crafting your exceptional DIY candles:
1. Prepare the Containers and Wicks:
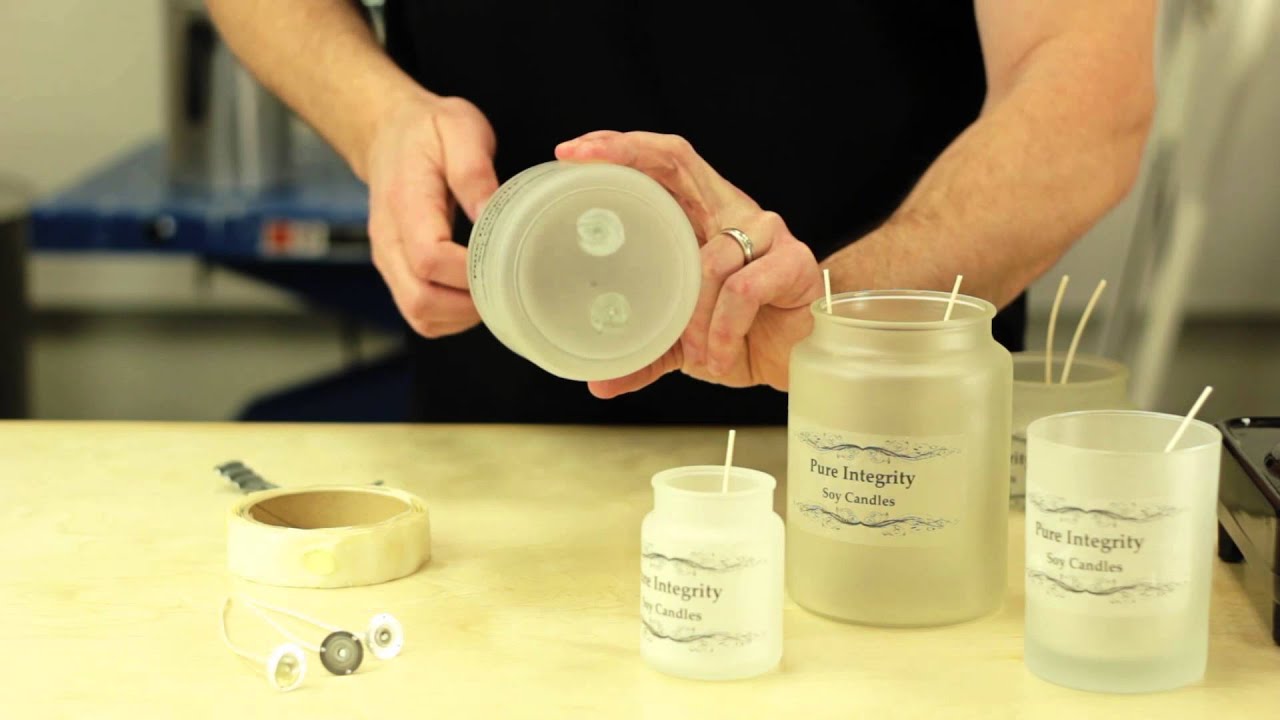
Begin by cleaning and drying your chosen containers. Trim wicks to about 1 inch above the container rim and secure them with a hot glue gun or tape at the center of the bottom. This step ensures a straight burn.
2. Melt the Wax:
Create a makeshift double boiler by boiling water in the bottom pot and placing the wax in the top bowl or pot. Stir occasionally and monitor the wax temperature, aiming for a range between 160°F and 185°F.
3. Add the Scents:
Once the wax reaches the ideal temperature, introduce your chosen scents. For essential oils, add 10 to 20 drops per candle, adjusting based on your preferred intensity. If using dried herbs or spices, incorporate 1 to 2 teaspoons per candle, ensuring they're finely chopped or ground.
4. Pour the Wax:
With precision, pour the wax into the prepared containers, leaving about 1/4 inch at the top. Use a funnel or measuring cup to minimize spills. Allow the wax to cool and harden, a process that may take several hours or overnight.
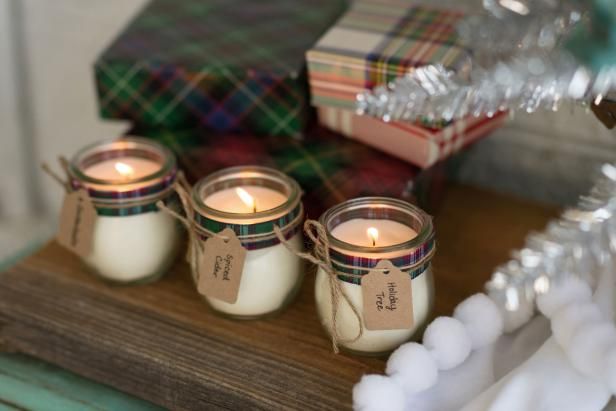
5. Enjoy Your Candles:
Once the wax solidifies, trim wicks to 1/4 inch and illuminate your DIY candles. Revel in the natural scents and the warm glow, and feel free to personalize the containers with ribbons, labels, or stickers.
Elevate Your DIY Candle Game: Tips and Tricks
Enhance the art of candle-making with these expert tips and tricks:
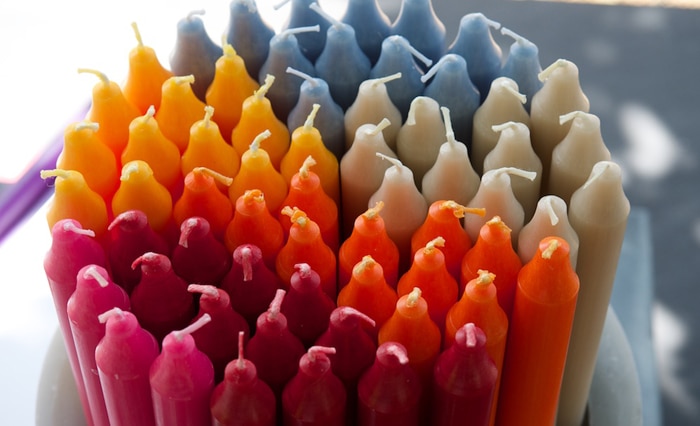
1. Experiment with Colors:
Infuse your candles with vibrancy by adding natural dyes like beetroot powder, turmeric, or spirulina. Stir well before pouring the wax to achieve the desired hue.
2. Add Texture and Decoration:
Elevate your candles by sprinkling dried flowers, petals, or glitter on top of the wax before it hardens. Ensure they're not too close to the wick to avoid any fire hazards.
3. Reuse Leftover Wax:
Don't let any wax go to waste. Melt leftover wax to create new candles or mix different wax types and scents for unique combinations.
4. Proper Storage:
Preserve your candles in a cool, dry place, shielding them from direct sunlight or heat sources. Wrap them in wax paper or plastic to maintain scent and color.
You can purchase all the required material from Amazon.com